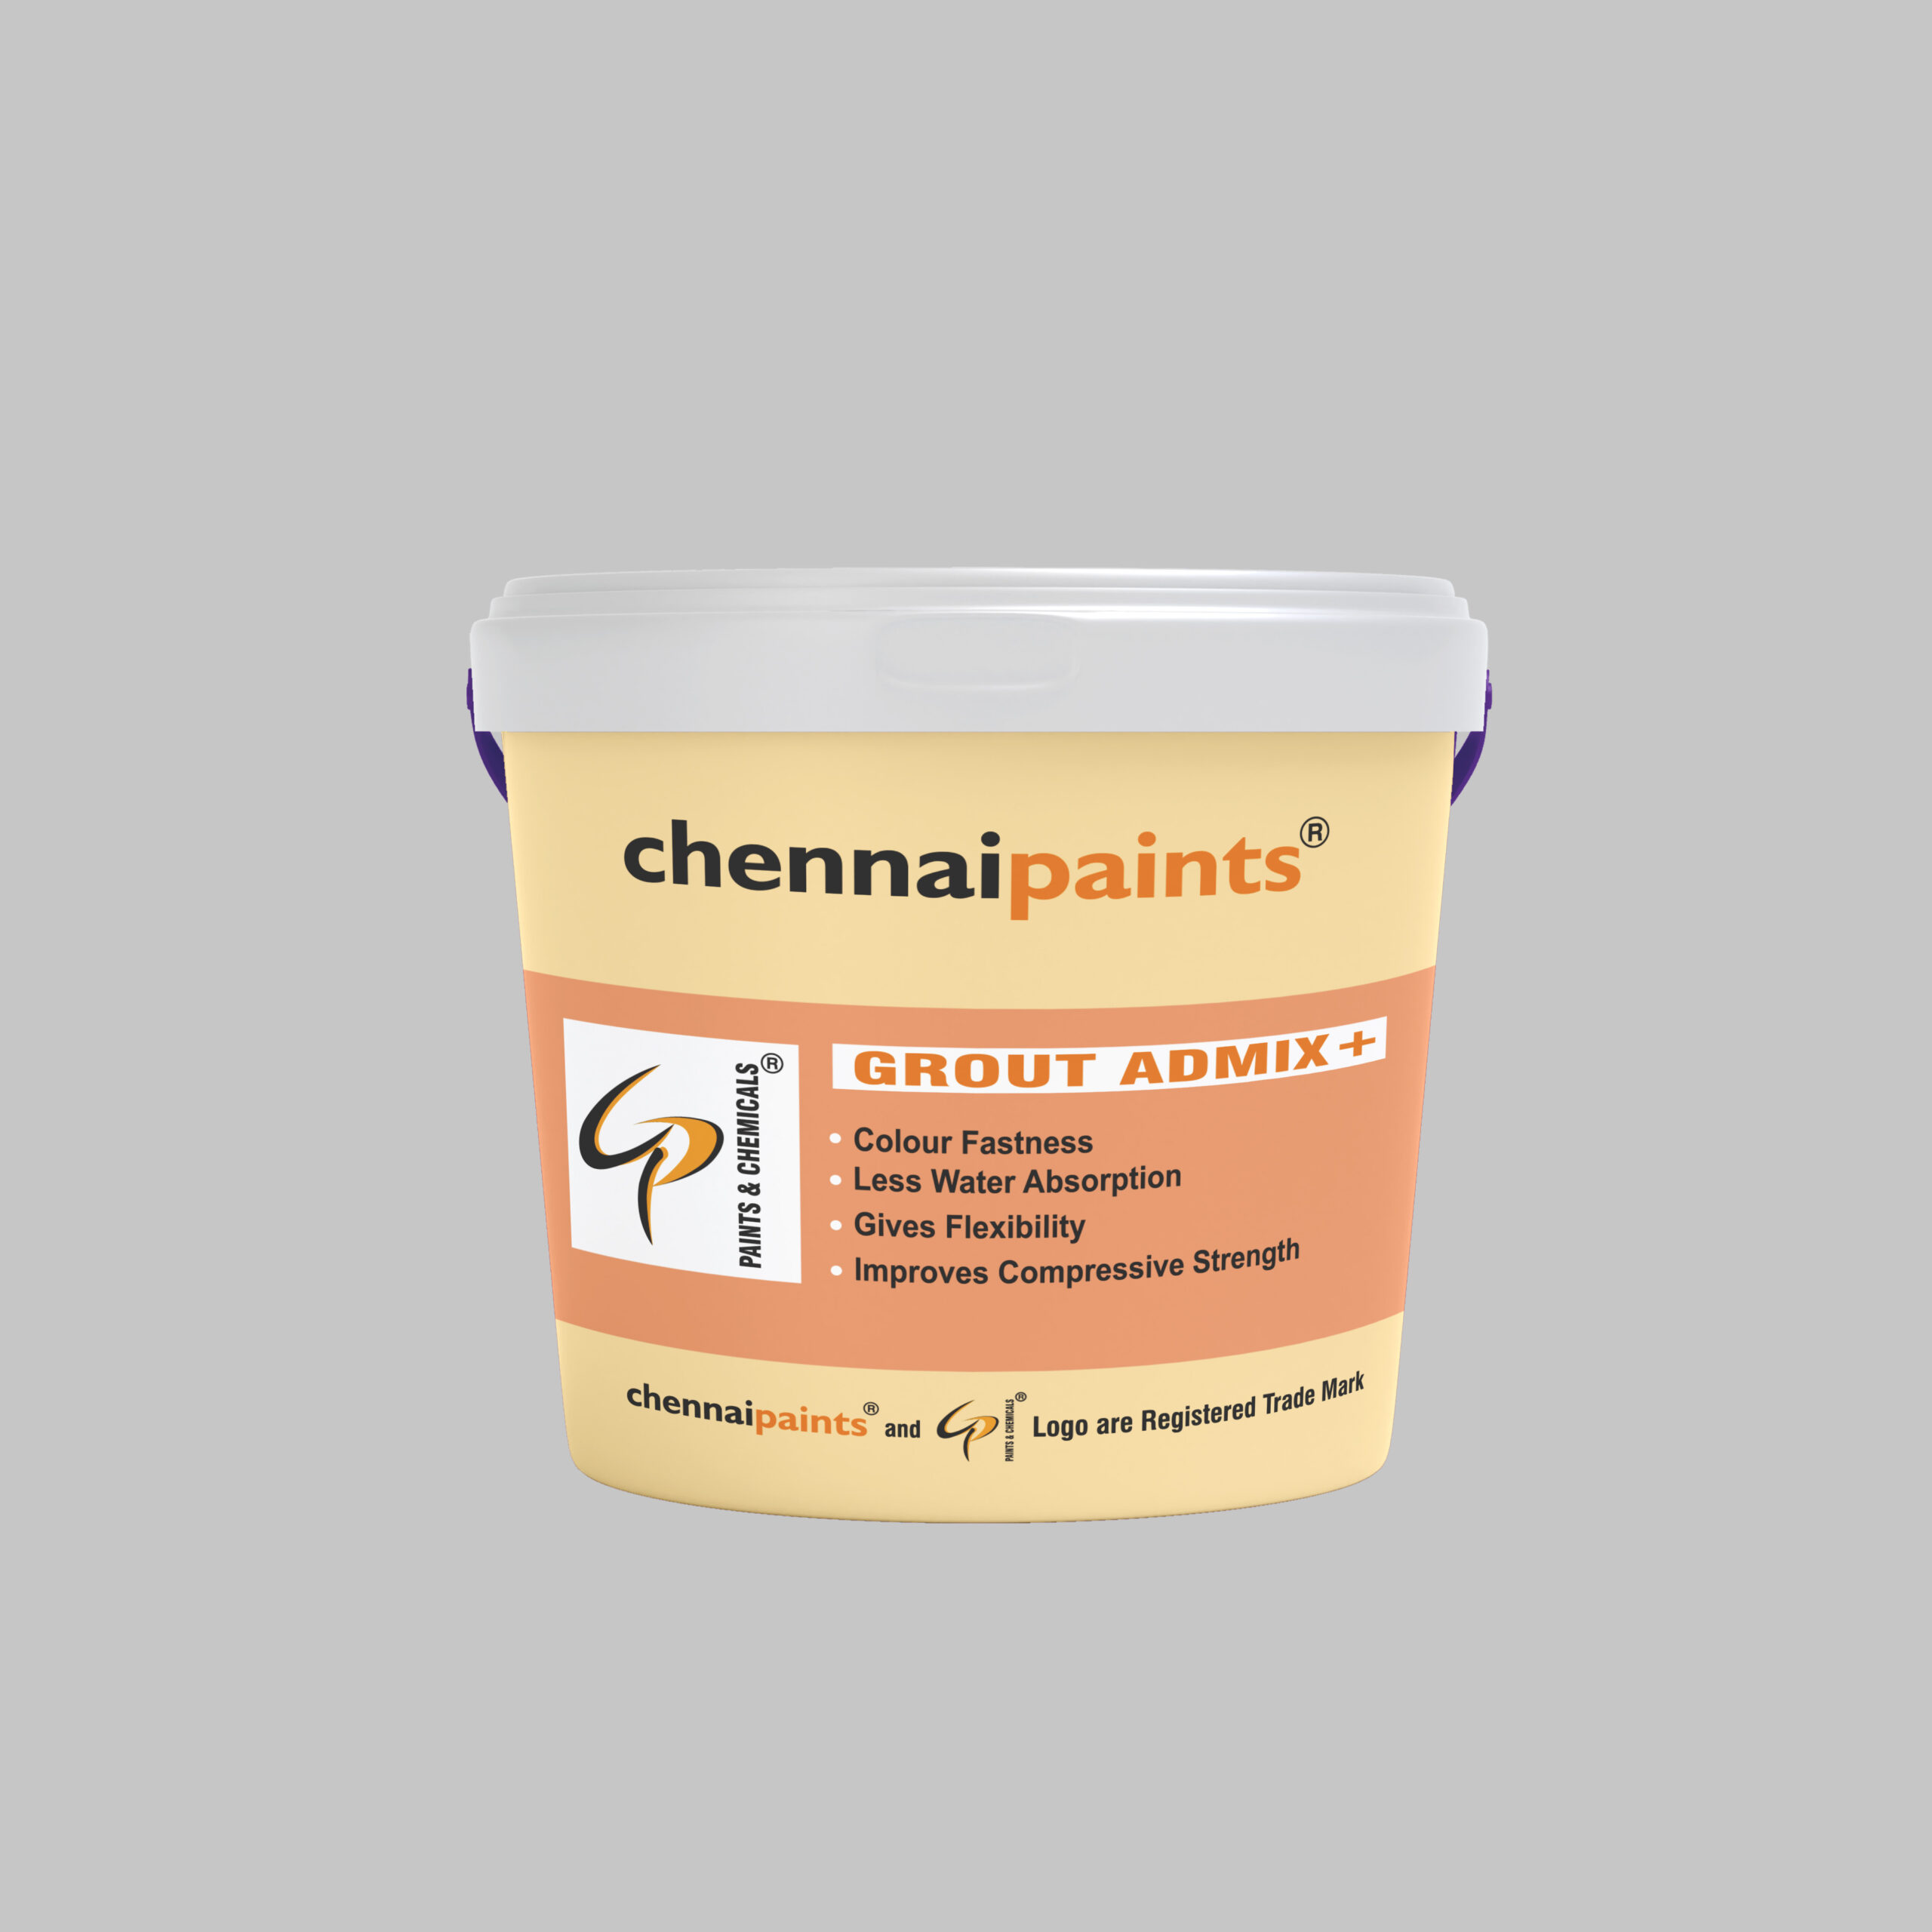
Description
IMPORTANT NOTE BEFORE USE
- It is always recommended to check the colour of the Colourfill grout, to see if it is meeting the desired colour of the client
- It is recommended to apply a small area with actual tile/stone at site and check for any colour ingress into the tile/stone. Many tiles / stones have high absorption which may cause to wet
- patches / discoloration / colour marks.
- Plan to provide proper movement joints, peripheral joints to accommodate movements in tile/stone and use flexible grout / sealant to fill these movement joints.
- Kindly consult our Technical Team for large format tile or stone installations on exterior surfaces.
- Not recommended for industrial applications exposed to high concentrations of food and mineral acids and to high temperature
(Take precaution when polishing soft glazed tiles or polished stone .Protect from exposure to acids and strong cleaners during service periods. Acidic cleaners can neutralize the cement-based grouts which leads to change in colour, cracking and chalking • Not recommended for soft, polished marble or delicate glazed tiles Adhesives/mastics, mortars and grouts for ceramic tile, pavers, brick and stone are not replacements for waterproof membranes.. Colourfill Grout and Grout Admix+ is NOT a waterproofing compound for joints or surfaces.)
Working Properties
Working Properties – at 70° F (21° C) Grout Admix + when mixed with Colourfill un-sanded Grout
|
Pot Life
|
1 hour
|
| Time to Foot Traffic |
24 hours
|
| Time to Heavy Traffic |
72 hours
|
|
Wet Density
|
1680 kg/m3
|
|
Colour
|
Milky White
|
|
Coverage
|
1) 375 ml to 400 ml per Kg of Colourfill Un-sanded Grouts
2) 175 ml to 200 ml per Kvg of Colourfill Sanded grouts
|
|
Packaging
|
20 ltr Pail
|
|
5 ltr – (4x5ltr Can)
|
|
Carton Box – (10 Tins x 400ml)
|
|
Carton Box – (20 Tins x 200ml)
|
|
Shelf Life
|
Factory sealed packs of this product are guaranteed to be of first quality for Eighteen (18) Months if stored off the ground in a dry area
|
Surface Preparation
Before starting to grout, remove spacers and debris in grout joints and remove dust and dirt using a wet sponge. Do not leave water standing in joints. Substrate temperature must be between 40°F (4°C) and 90°F (32°C). Apply grout release or sealer if required
Mixing Instructions
Stir or shake Grout Admix + thoroughly before use. Add Colourfill Sanded or Unsanded Grout powder to proper amount of Grout Admix + and mix by hand or with a slow speed mixer (< 300 rpm) to a smooth, lumps free stiff consistency. Dampen tile surface with water. Spread with a sharp, firm rubber grout float. Work the grout into the joints until completely filled. Use diagonal strokes to pack the joints. Insure that joint is filled and grout is not just sitting on top (i.e. “bridging the joint”)
(Note: For fuller flush joints sprinkle a thin layer of Colourfill dry grout powder over surface immediately after grouting. When grout darkens over joint, buff with burlap, carpet remnant or cotton rag to pack joint and clean
Cleaning
Cleaning Grout Initial Stage
Remove excess grout from the face of the tiles with the edge of the grout float. Hold the float at a 90° angle and pull it at a 45° angle diagonally across the joints and tile to avoid pulling out the material.
Cleaning Grout Secondary Stage
Remove remaining grout with a damp sponge (not wet) or a damp towel. Work diagonally to the joints. Allow to dry. When the Colourfill grout joints are firm polish the surface with a coarse nylon pad or coarse cloth and minimal water.
