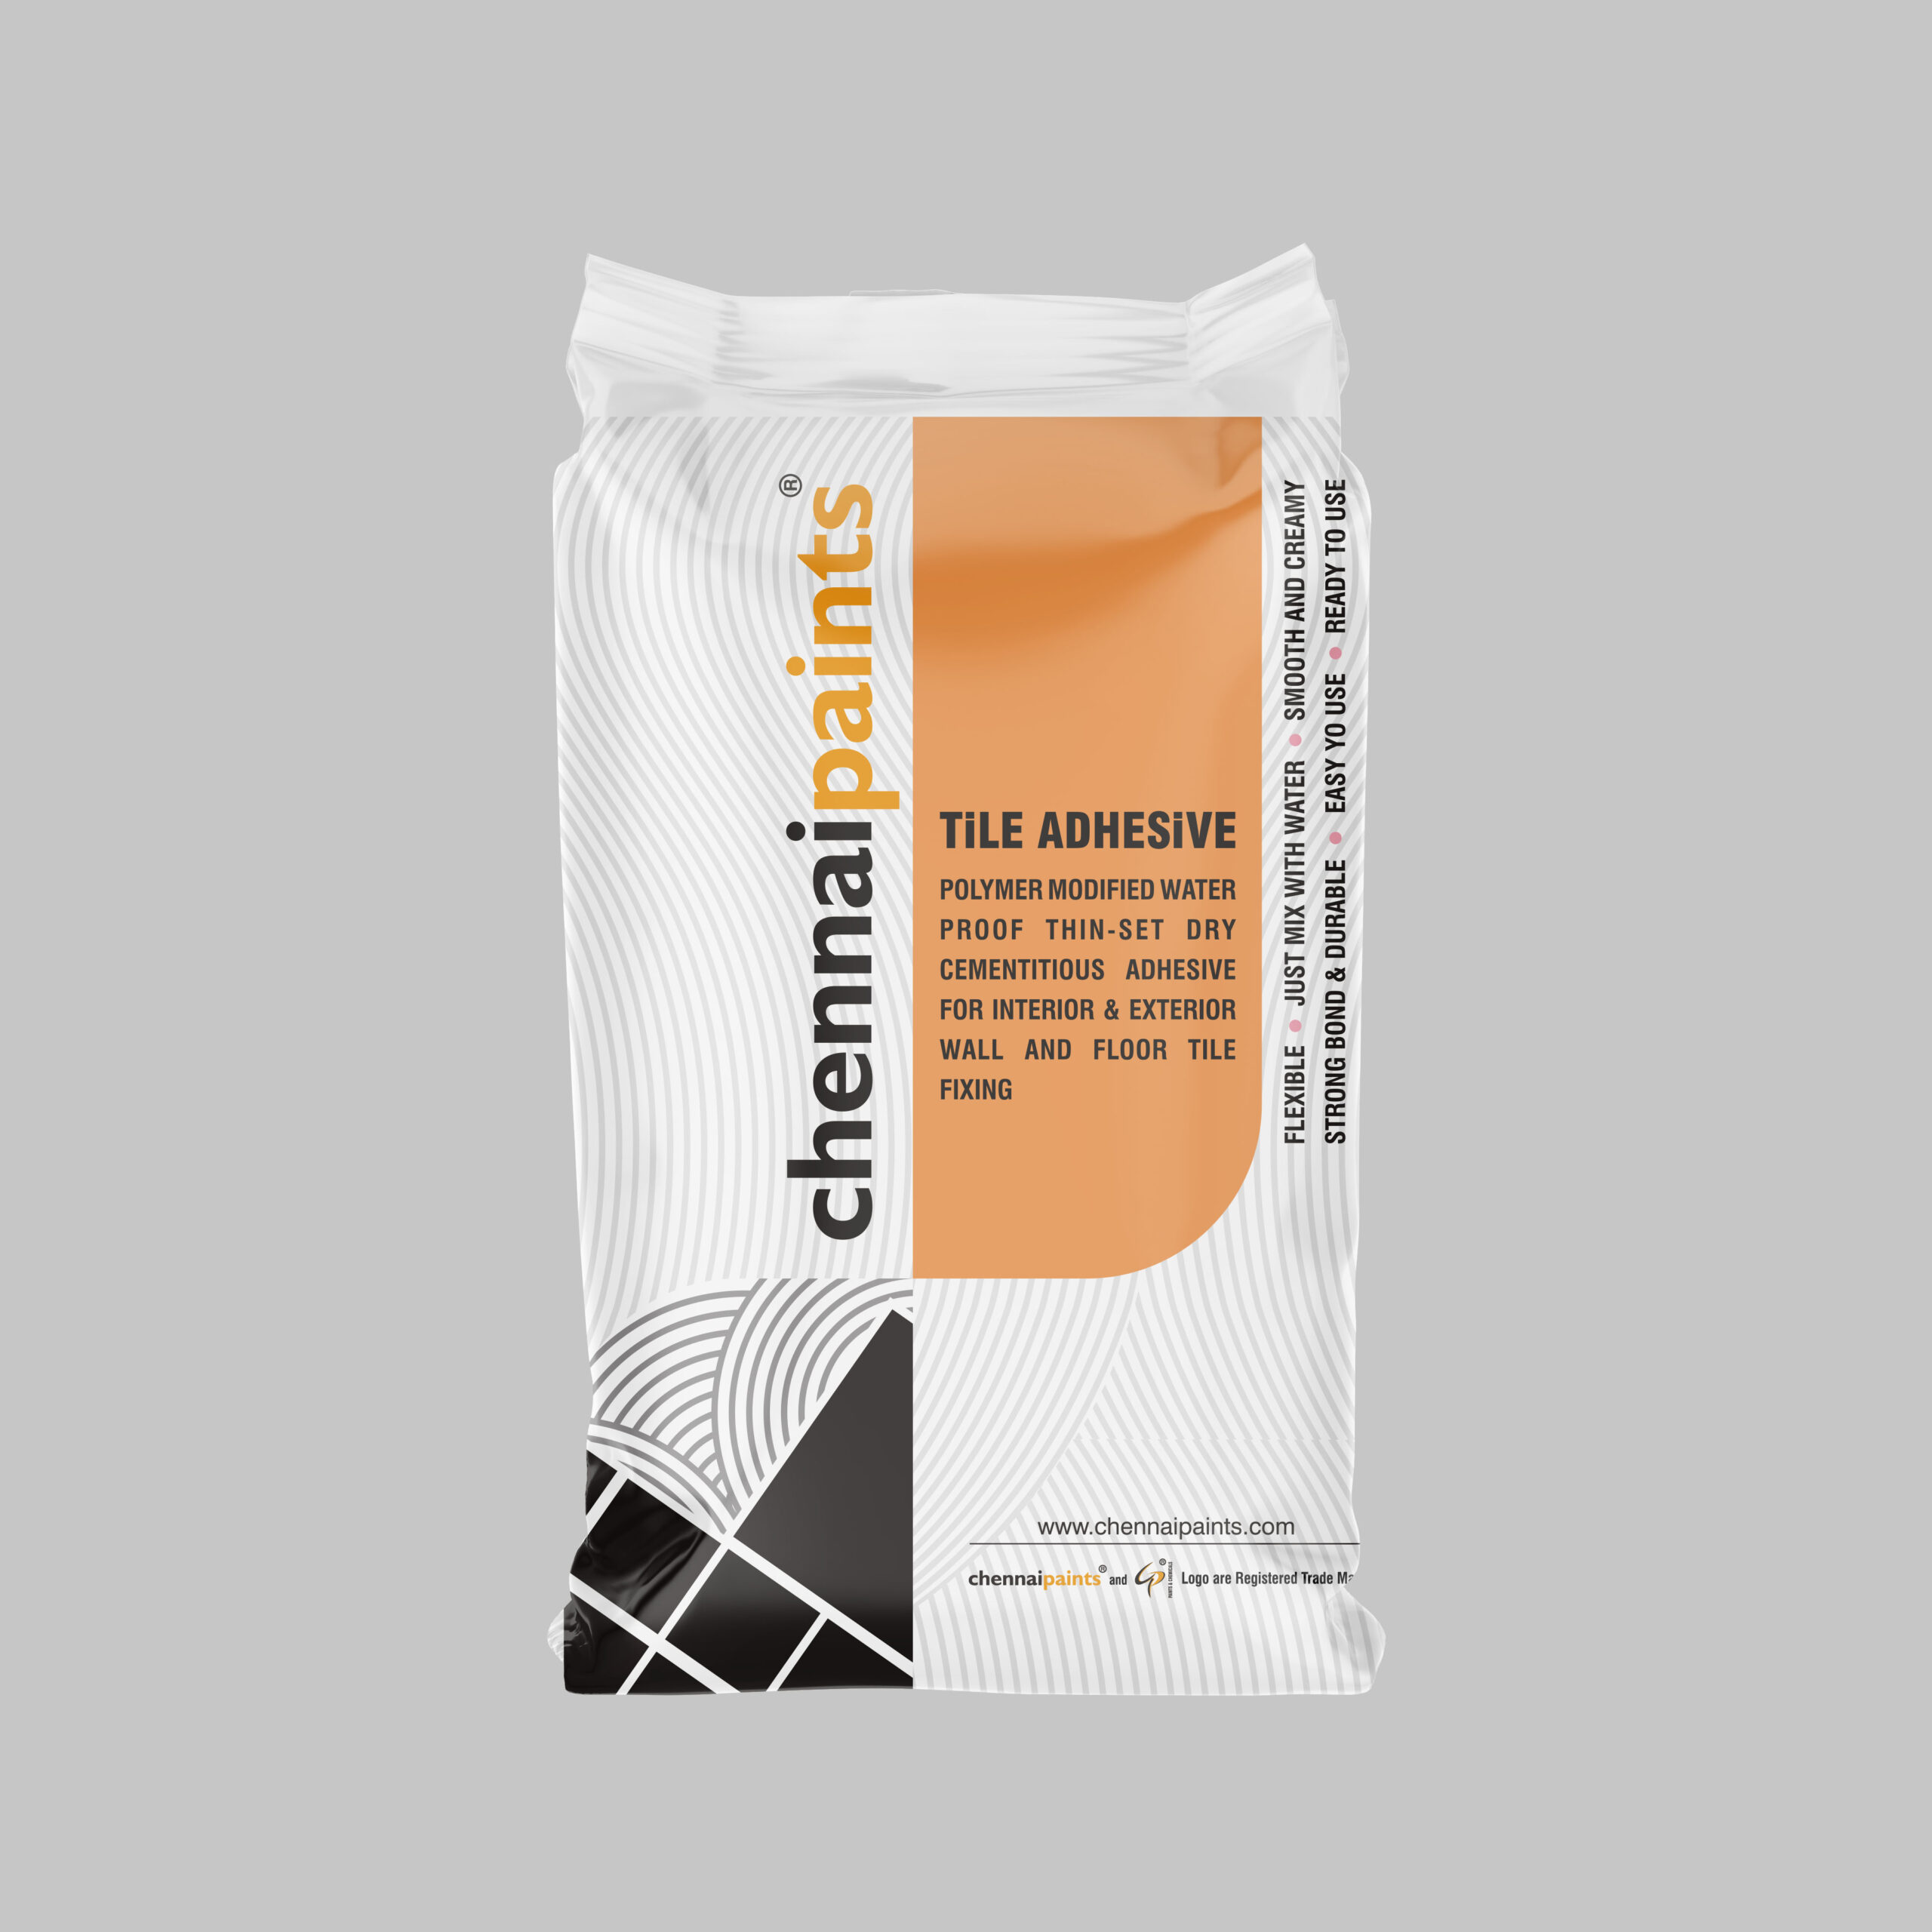
Application
Direction And Surface Preparation For Use
Can be used for interior and exterior wall and floor applications over masonry, concrete, mortar beds, ceramic tiles and cement plaster in residential & commercial buildings. It has excellent bond which enable it use in swimming pools and washroom. All surfaces should be between 50* F (10*C) and 100*F (38*C ) To achieve successful installation of large/medium format floor and wall tiles the key is to completely removal of demolding wax powder/ fiber mesh on the back of the tiles. The surface flatness is very important as mild impact due to uneven surface of the tile will result in cracking. All the prepared substrates shall have no more than a permissible variation before installation. It is also recommended to check the adhesive grade selected for the tiles is right for the installation on the substrate/size /type and area.
Remove dust, Grease, Oil, Paint Etc. Dry dusty concrete slabs or masonry should be dampened, and excess water swept off. Installation may be made on a damp surface. For new concrete slab should be cured for 28 days before application. Concrete or plaster must be fully cured and must accept water absorption. A test should be done by sprinkling portable water on the area of substrate. If water absorption is there then it will result in good bonding. If absorption is not seen then it means surface contamination and will affect the bonding. (Contamination must be removed before application. Never use any type of removers/solvents as they soften the adhesive causing it to penetrate in the concrete. (Always take a trial test bond of the area before using it on a large scale application).
Add 6.5 to 7 lt of portable water to 20 kg of Tile Adhesive Grey+ (MAX-L) into a mixing bowl and mix to form a thick lump free and trowel able consistency, Add little more water if required only to obtain workable mix. (Mixing can be done by hand or slow speed mixer) Leave the adhesive to stand for 5-10 minutes before using. Apply the adhesive using the flat side of the trowel to for proper coverage under the tile and apply some on the mortar of the surface with the notch side of the trowel held at 45* angle. Press the tile firmly into place in a perpendicular motion across ridge moving back and forth flattening the ridges and closing the valleys allowing maximum coverage. (Adhesive should not be used to fill up low spots in the flooring)
